
How We Use a Drone for Photography
Drones have revolutionized the field of photography, offering unique perspectives and creative opportunities that were once impossible.
At NTP 2 Photography, we harness the power of drones to provide stunning aerial imagery for real estate, businesses, branding, and event photography.

Elevating Real Estate Listings
In real estate, first impressions are crucial. Drone photography allows us to capture expansive aerial views of properties, highlighting their full potential. From sweeping landscapes to detailed shots of the property’s exterior and surrounding area, drones provide a comprehensive view that standard ground-level photos can't match. This unique perspective can make listings stand out, attracting more potential buyers and helping properties sell faster.
Enhancing Business and Branding
For businesses and branding, drone photography offers a dynamic way to showcase your company. Whether you need striking images for:
Marketing materials
Websites
Social media
Advertisements
Corporate brochures
Aerial shots can convey professionalism and innovation. We capture your business from angles that highlight its size, scope, and environment, creating compelling visuals that resonate with your audience.
Capturing Unforgettable Events
Events are all about memorable moments, and what better way to capture these than with drone photography? Whether it’s:
A wedding
Corporate event
Public gathering
Festivals
Sports events
Drones allow us to capture the event from a bird’s-eye view. This perspective captures the scale and energy of the event, providing a unique keepsake for attendees & hosts. From sweeping shots of the venue to dynamic footage of the festivities, drone photography adds a cinematic touch to any event.
Why Choose NTP 2 Photography?
Choosing NTP 2 Photography means opting for expertise and creativity. Our experienced drone pilots and photographers work seamlessly to deliver high-quality aerial imagery tailored to your specific needs. We use the latest drone technology to ensure crisp, clear, and stunning visuals. Plus, we handle all the necessary regulations and safety measures, so you can focus on enjoying the results.

Book Your Drone Photography Session with NTP 2 Today
Ready to take your photography to new heights? Literally. Reach out to us at NTP 2 Photography to book a drone photography session for your real estate, business, or event. Let us help you capture stunning aerial views that will leave a lasting impression.

What Makes a Shot Look Professional - Field of View's Effect on a Scene
Have you ever noticed that some photos just look more professional than others, even if they're taken of the most ordinary subjects? Often, the secret isn't in expensive gear but in understanding and using the field of view (FOV) effectively. FOV changes how a scene is captured and presented, impacting the mood, focus, and overall impression of your photos. Whether you're shooting with a DSLR or an iPhone, manipulating the FOV can significantly enhance your images.
If you want to level up your photography, start experimenting with the field of view in your shots.

Understanding Field of View
Field of view is about how much of a scene your camera captures. It's shaped by the lens's focal length and the camera's sensor size.
A wide FOV includes more of the scene, perfect for landscapes or when you need to show a sense of space.
A narrow FOV, on the other hand, brings your subject into tighter focus, ideal for portraits or highlighting details.
Even with an iPhone, you can adjust your FOV. Switching between the standard, wide, and telephoto settings allows you to experiment with different compositions and perspectives without changing your physical position.
Choosing the Right Lens
The lens you choose directly affects your FOV. Wide-angle lenses let you capture broad scenes, while telephoto lenses zoom in for detailed shots. The trick is to match the lens to your vision. Do you want to immerse the viewer in the environment, or isolate a subject against a blurred background?
For iPhone users, tapping into the "1x" or "2x" options simulates changing lenses, offering a straightforward way to alter your FOV and play with composition directly from your phone.
Manipulating Depth of Field
Depth of field (DOF) and FOV are closely linked. A wide aperture (low f-number) creates a shallow DOF, focusing attention on your subject by blurring the background. This technique adds depth to your photos and is a go-to for making your shots stand out.
iPhones and many other smartphones offer a "Portrait" mode that simulates this effect, blurring the background while keeping the subject sharp. It's an excellent tool for achieving a professional look with minimal effort.

Framing and Composition
Finally, how you frame your shot can make or break its professional appearance. A well-chosen FOV can help balance the elements in your scene, guiding the viewer’s eye to the subject or creating a certain atmosphere. It's about making intentional choices with your composition to tell a story or evoke an emotion.
Remember, achieving a professional look in your photography is about understanding the tools at your disposal, whether that's a high-end camera or the phone in your pocket. Experimenting with different fields of view can transform your shots from ordinary to extraordinary.

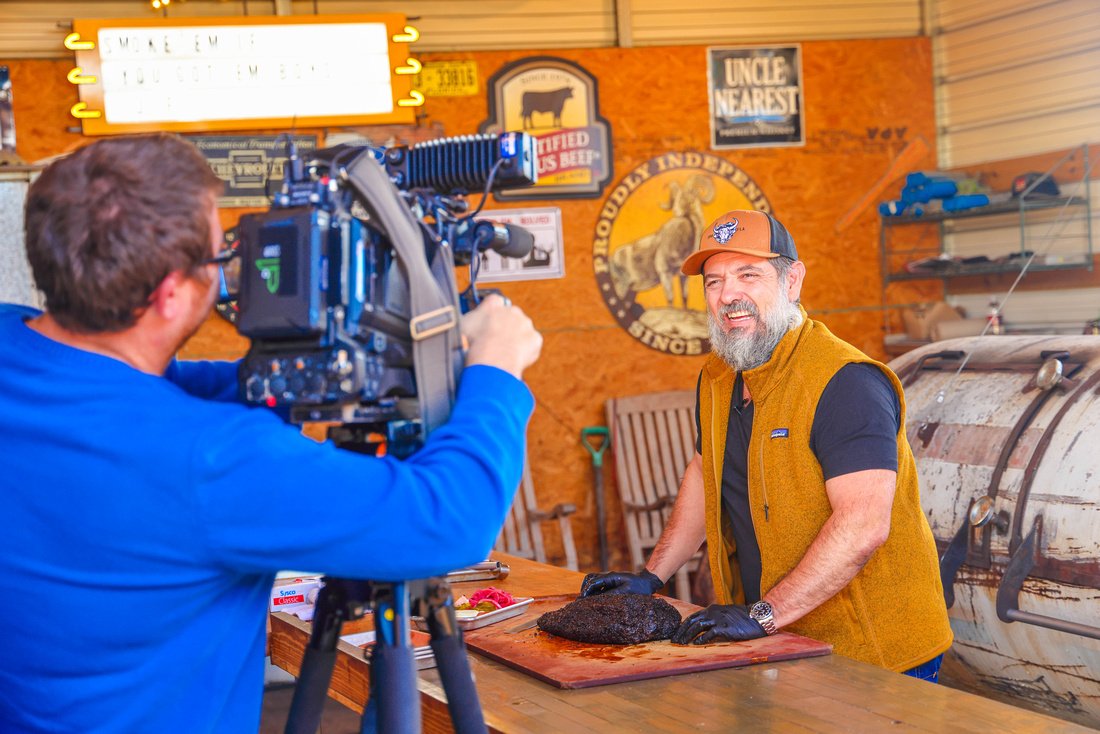
Pro Tips for Capturing Perfect Product Shots
Think back to the last purchase you made online, what flashes through your mind? More than likely, you're seeing the ad or photo of the product that made you buy it! Especially in today's time, there's endless advertising you see daily, always trying to sell you something.
If you're a business, it may seem very hard to stick out from the crowd. Don't stress! Although it's a very competitive world out there, a professional product photoshoot will transform how the public sees your brand.
Whether you're a new photographer or a business looking to get an edge in its branding, our blog is here to help! We explain some of our top tips for taking perfect product photos; let's get into the details!

1. Get the Lighting Right
Good lighting is crucial in product photography, the right lighting allows you to highlight its best features. Use natural light if you can, as it often gives the best results. If you are shooting indoors, set up your artificial lighting to avoid harsh shadows and evenly illuminate your product.
2. Choose a Simple Background
Your background should not distract from the product. A simple, uncluttered background works best. White is a popular choice as it creates a clean look and allows the product to remain the focus. If you’re feeling adventurous, try a solid color that complements the product.
3. Focus on Sharpness and Detail
Sharp, clear images are non-negotiable. Use a tripod to avoid any camera shake and ensure your product is in sharp focus. Pay attention to the small details - they can make a big difference in the overall quality of the shot.
4. Consistency is Key
For brands, especially, consistency in your product photos is important. This means consistent lighting, angles, and backgrounds across all your images. It helps maintain a professional look and strengthens your brand identity.

NTP 2 Photography: Your Partner in Product Photography
Need help capturing your products in the best light? At NTP 2 Photography, we specialize in professional product photography that makes your brand stand out from the rest.

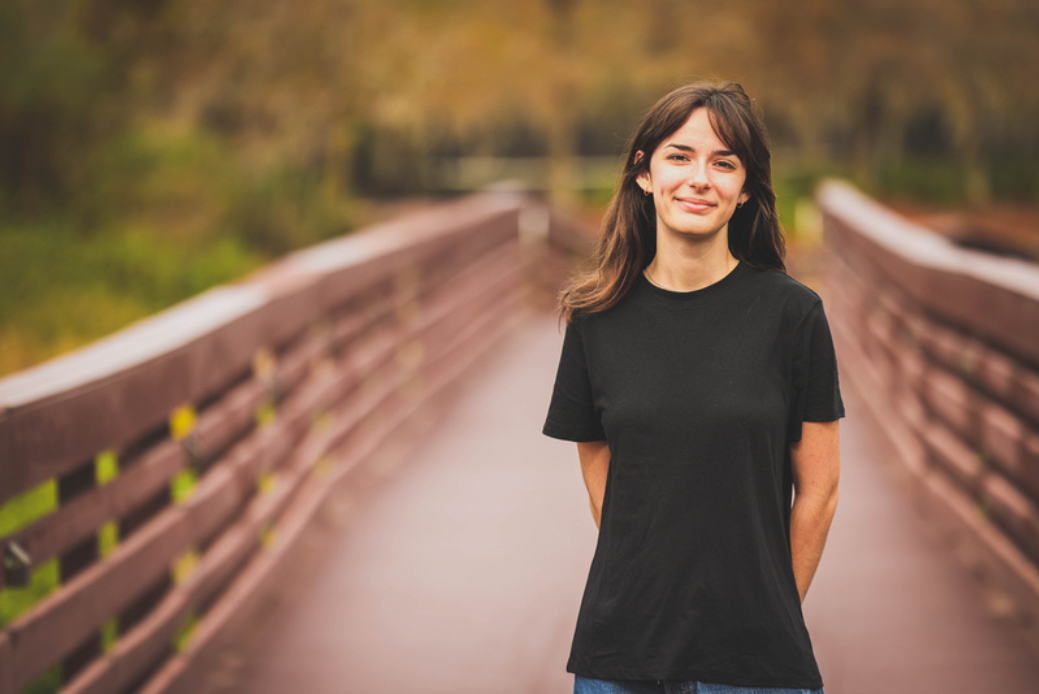
Portrait or Landscape? Nailing That Perfect Shot
Ever find yourself in a bit of a pickle trying to decide whether to take a photo in portrait or landscape? Or maybe you have a photo you can’t quite figure out what it is about the composition you don’t like. When deciding between the two, there really isn’t a right or wrong answer; however, sometimes, it's not just about what looks good; it's about what feels right for the moment and how you plan to use that shot.
At NTP 2 Photography, we get how this choice can shape the overall look and feel of your photo, and we’re here to help you decide.

What’s Your Focus?
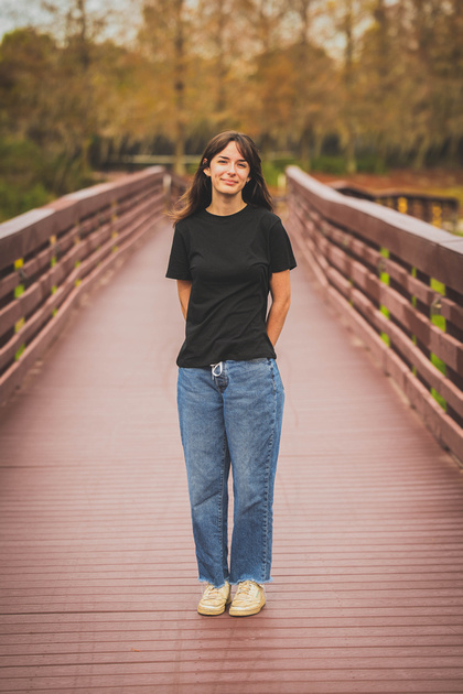
Think about what you're trying to capture. Is it a sprawling landscape, a group photo, or a skyline? Go landscape. It’s great for when you need to grab more of the world in your frame.
For something more personal, like a portrait or a tall subject like a skyscraper or a flower, portrait mode is likely your best bet. It adds a touch of intimacy or grandeur, depending on your subject.

Planning to Post or Print?
How you plan to use the photos is key in deciding. Some examples include:
Making a slideshow for TikTok or Instagram Reels? - Portrait fits best
Taking branding shots? - A mix of both for variability in content
Creating a business profile or business card? - Portrait is the way to go
Putting together a scrapbook or printed album? - Try both for visual interest
Printing for wall decor? - Consider your space and the intended layout
Try Both, Choose Your Favorite
Here’s a pro tip: experiment! Sometimes, the best shot isn’t the most obvious one. Flip your camera and see what each orientation brings to the table. You might be surprised at what catches your eye.
Need a Hand? NTP 2 Photography's Here
Struggling to decide? We've got your back. At NTP 2 Photography, we’re all about capturing those perfect moments, whatever the orientation. From personal portraits to breathtaking landscapes, we help you capture those memories in the style that suits you best.
Got a scene to shoot or a story to tell? Reach out today, and let’s make those photos pop!

How to NAIL Your Holiday Family Photoshoot
The holidays are right around the corner, and that means holiday cards are, too! Sending out cards to friends and family is a way to slow down, record a snapshot in time, and share special moments with loved ones.
It’s a busy time of year, and I want to ensure that you and your family have an amazing and fun time while we capture the magic. NTP 2 Photography can document your family’s legacy and memories with timeless and high-quality images, no matter the size of your group.
Here are some ways to prepare for our session so we can nail your holiday family photoshoot! Still need to book your session? Act quick - Santa’s on his way, but our photographers are like his elves & are here to make your holiday season happier.

Tips for Holiday Family Portraits
Location, Location, Location!
There are many beautiful areas around Tampa Bay to choose from for the perfect backdrop in your photos. Selecting the ideal location will highlight your family’s personality in addition to keeping everyone comfortable. While the beach is always a stunning choice, it might not necessarily be the best option with toddlers who have a tough time dealing with the elements.
I typically like to customize the location based on each family – where you’re located in town, your preferences, etc. Whether it’s a nearby park with sweeping trees, in front of stunning architecture, gorgeous water views, or at your own home, I utilize varying spots within that location to make your photos truly unique.
Dress to Impress
When planning what to wear for your holiday photos, it’s essential to select a theme and color palette.
Whether you keep it casual in neutral tones or dress to the nines in sparkle and pattern, make sure each outfit compliments everyone else’s in the photo. And most importantly, wear clothes that fit, feel comfortable, and represent you and your family.
Something else to think about when selecting your wardrobe is the location. Take into consideration things like wind, temperature, and the general vibe of the area. Neutrals tend to compliment most locations, but you can also choose to go dark and moody or bold and beautiful. But if you prefer patterns, keep them to a minimum and avoid lots of competing colors or neon. I also recommend avoiding logos if as they may be distracting.
Express Yourself
Personalizing your session is a must. Tell a story about what represents your family or what you love doing. And feel free to bring props! From sports equipment and fishing gear to special toys and board games, you can’t go wrong, including special mementos in a few snaps.
If you choose to eventually display your photos in your home, keep your design scheme in mind. If you have cool grays and blues or warm beiges and browns, think about what will complement the décor. Additionally, envision how your photos will fit into your design aesthetic: modern and industrial, breezy and beachy, traditional or transitional, or dramatic and bold.
Prepare With the Kids
Keeping the kiddos all smiles during our session is undoubtedly preferable. In addition to ample sleep and happy bellies, bring some mess-free treats or toys to ward off any meltdowns. It’s also a great idea to have backup clothes in case of any accidents.
Get the littles excited for your upcoming session with their help picking out the location, wardrobe, or props. They’ll love being a part of the process and might even enjoy practicing taking photos or modeling their outfits. This will help them know what to expect during the photoshoot and ensure their clothing and props are camera-ready. Plus, those laughs and smiles will be natural and candid when everyone is feeling good.
Happy Holiday Memories for a Lifetime
Holidays may be full of hustle and bustle and the stress of finding that perfect gift, but our goal is to make your session stress-free and fun with beautiful images you’ll cherish forever as a family.
If you have questions or want to run some location, wardrobe, or prop ideas by our local photographers, don’t hesitate to reach out! NTP 2 Photography is still booking throughout Tampa Bay and can get your photos turned around quickly for any last-minute holiday cards you want to send.