
What Makes a Shot Look Professional - Field of View's Effect on a Scene
Have you ever noticed that some photos just look more professional than others, even if they're taken of the most ordinary subjects? Often, the secret isn't in expensive gear but in understanding and using the field of view (FOV) effectively. FOV changes how a scene is captured and presented, impacting the mood, focus, and overall impression of your photos. Whether you're shooting with a DSLR or an iPhone, manipulating the FOV can significantly enhance your images.
If you want to level up your photography, start experimenting with the field of view in your shots.

Understanding Field of View
Field of view is about how much of a scene your camera captures. It's shaped by the lens's focal length and the camera's sensor size.
A wide FOV includes more of the scene, perfect for landscapes or when you need to show a sense of space.
A narrow FOV, on the other hand, brings your subject into tighter focus, ideal for portraits or highlighting details.
Even with an iPhone, you can adjust your FOV. Switching between the standard, wide, and telephoto settings allows you to experiment with different compositions and perspectives without changing your physical position.
Choosing the Right Lens
The lens you choose directly affects your FOV. Wide-angle lenses let you capture broad scenes, while telephoto lenses zoom in for detailed shots. The trick is to match the lens to your vision. Do you want to immerse the viewer in the environment, or isolate a subject against a blurred background?
For iPhone users, tapping into the "1x" or "2x" options simulates changing lenses, offering a straightforward way to alter your FOV and play with composition directly from your phone.
Manipulating Depth of Field
Depth of field (DOF) and FOV are closely linked. A wide aperture (low f-number) creates a shallow DOF, focusing attention on your subject by blurring the background. This technique adds depth to your photos and is a go-to for making your shots stand out.
iPhones and many other smartphones offer a "Portrait" mode that simulates this effect, blurring the background while keeping the subject sharp. It's an excellent tool for achieving a professional look with minimal effort.

Framing and Composition
Finally, how you frame your shot can make or break its professional appearance. A well-chosen FOV can help balance the elements in your scene, guiding the viewer’s eye to the subject or creating a certain atmosphere. It's about making intentional choices with your composition to tell a story or evoke an emotion.
Remember, achieving a professional look in your photography is about understanding the tools at your disposal, whether that's a high-end camera or the phone in your pocket. Experimenting with different fields of view can transform your shots from ordinary to extraordinary.

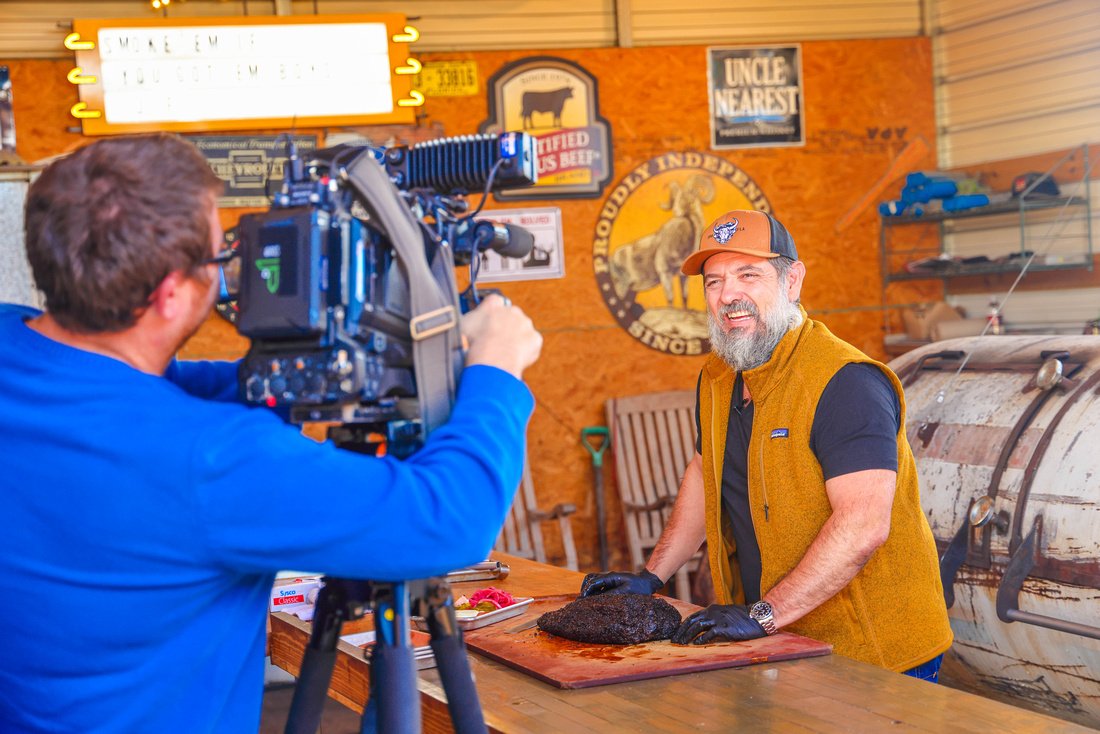
Pro Tips for Capturing Perfect Product Shots
Think back to the last purchase you made online, what flashes through your mind? More than likely, you're seeing the ad or photo of the product that made you buy it! Especially in today's time, there's endless advertising you see daily, always trying to sell you something.
If you're a business, it may seem very hard to stick out from the crowd. Don't stress! Although it's a very competitive world out there, a professional product photoshoot will transform how the public sees your brand.
Whether you're a new photographer or a business looking to get an edge in its branding, our blog is here to help! We explain some of our top tips for taking perfect product photos; let's get into the details!

1. Get the Lighting Right
Good lighting is crucial in product photography, the right lighting allows you to highlight its best features. Use natural light if you can, as it often gives the best results. If you are shooting indoors, set up your artificial lighting to avoid harsh shadows and evenly illuminate your product.
2. Choose a Simple Background
Your background should not distract from the product. A simple, uncluttered background works best. White is a popular choice as it creates a clean look and allows the product to remain the focus. If you’re feeling adventurous, try a solid color that complements the product.
3. Focus on Sharpness and Detail
Sharp, clear images are non-negotiable. Use a tripod to avoid any camera shake and ensure your product is in sharp focus. Pay attention to the small details - they can make a big difference in the overall quality of the shot.
4. Consistency is Key
For brands, especially, consistency in your product photos is important. This means consistent lighting, angles, and backgrounds across all your images. It helps maintain a professional look and strengthens your brand identity.

NTP 2 Photography: Your Partner in Product Photography
Need help capturing your products in the best light? At NTP 2 Photography, we specialize in professional product photography that makes your brand stand out from the rest.

Portrait or Landscape? Nailing That Perfect Shot
Ever find yourself in a bit of a pickle trying to decide whether to take a photo in portrait or landscape? Or maybe you have a photo you can’t quite figure out what it is about the composition you don’t like. When deciding between the two, there really isn’t a right or wrong answer; however, sometimes, it's not just about what looks good; it's about what feels right for the moment and how you plan to use that shot.
At NTP 2 Photography, we get how this choice can shape the overall look and feel of your photo, and we’re here to help you decide.

What’s Your Focus?
Think about what you're trying to capture. Is it a sprawling landscape, a group photo, or a skyline? Go landscape. It’s great for when you need to grab more of the world in your frame.
For something more personal, like a portrait or a tall subject like a skyscraper or a flower, portrait mode is likely your best bet. It adds a touch of intimacy or grandeur, depending on your subject.

Planning to Post or Print?
How you plan to use the photos is key in deciding. Some examples include:
Making a slideshow for TikTok or Instagram Reels? - Portrait fits best
Taking branding shots? - A mix of both for variability in content
Creating a business profile or business card? - Portrait is the way to go
Putting together a scrapbook or printed album? - Try both for visual interest
Printing for wall decor? - Consider your space and the intended layout


Try Both, Choose Your Favorite
Here’s a pro tip: experiment! Sometimes, the best shot isn’t the most obvious one. Flip your camera and see what each orientation brings to the table. You might be surprised at what catches your eye.
Need a Hand? NTP 2 Photography's Here
Struggling to decide? We've got your back. At NTP 2 Photography, we’re all about capturing those perfect moments, whatever the orientation. From personal portraits to breathtaking landscapes, we help you capture those memories in the style that suits you best.
Got a scene to shoot or a story to tell? Reach out today, and let’s make those photos pop!

ERIC'S TOP 5 TIPS TO PREP FOR REAL ESTATE LISTING PHOTOGRAPHY

I share with many of my closest clients that Real Estate was among the first services that I offered when I launched my business 5 years ago this month. The first listing that I photographed had a offer put in and was accepted within 3 days of going live. The part about that is uncommon is that the offer came from a out of state family that didn't see the house in person only by pictures. Ever since that day I have been doing business with some of those same individuals today. Many realtors will prep their homeowner to get their home ready for the listing photo session but I have noticed there are many areas of the home that are overlooked. That is why I put together my Top 5 Tips to get your home ready for real estate listing photos. Now before I share that it goes without saying that your realtor will prep you for the basics to get your home ready like cleaning, organizing, decluttering, etc.
5.) Check Light Fixtures-Many times fan light fixtures, bathroom vanities and recessed kitchen lights are missed. Make sure that the bulbs are all working and that they are all the same intensity and color temperature.

4.) Cluttered Areas- I share with so many that there is a difference between organized and unorganized areas. Avoid leaving rubber mate totes and cardboard boxes in the home. Use the garage as a place to store those items until after the shoot.

3.)Pet Items- Make sure to stow the pet items like bowls, toys and litter boxes away for the photoshoot.
2.)Driveway and Sidewalk being cleaned- Having the driveway and sidewalk cleaned beforehand is a very fast and small investment to make to give your property a facelift.
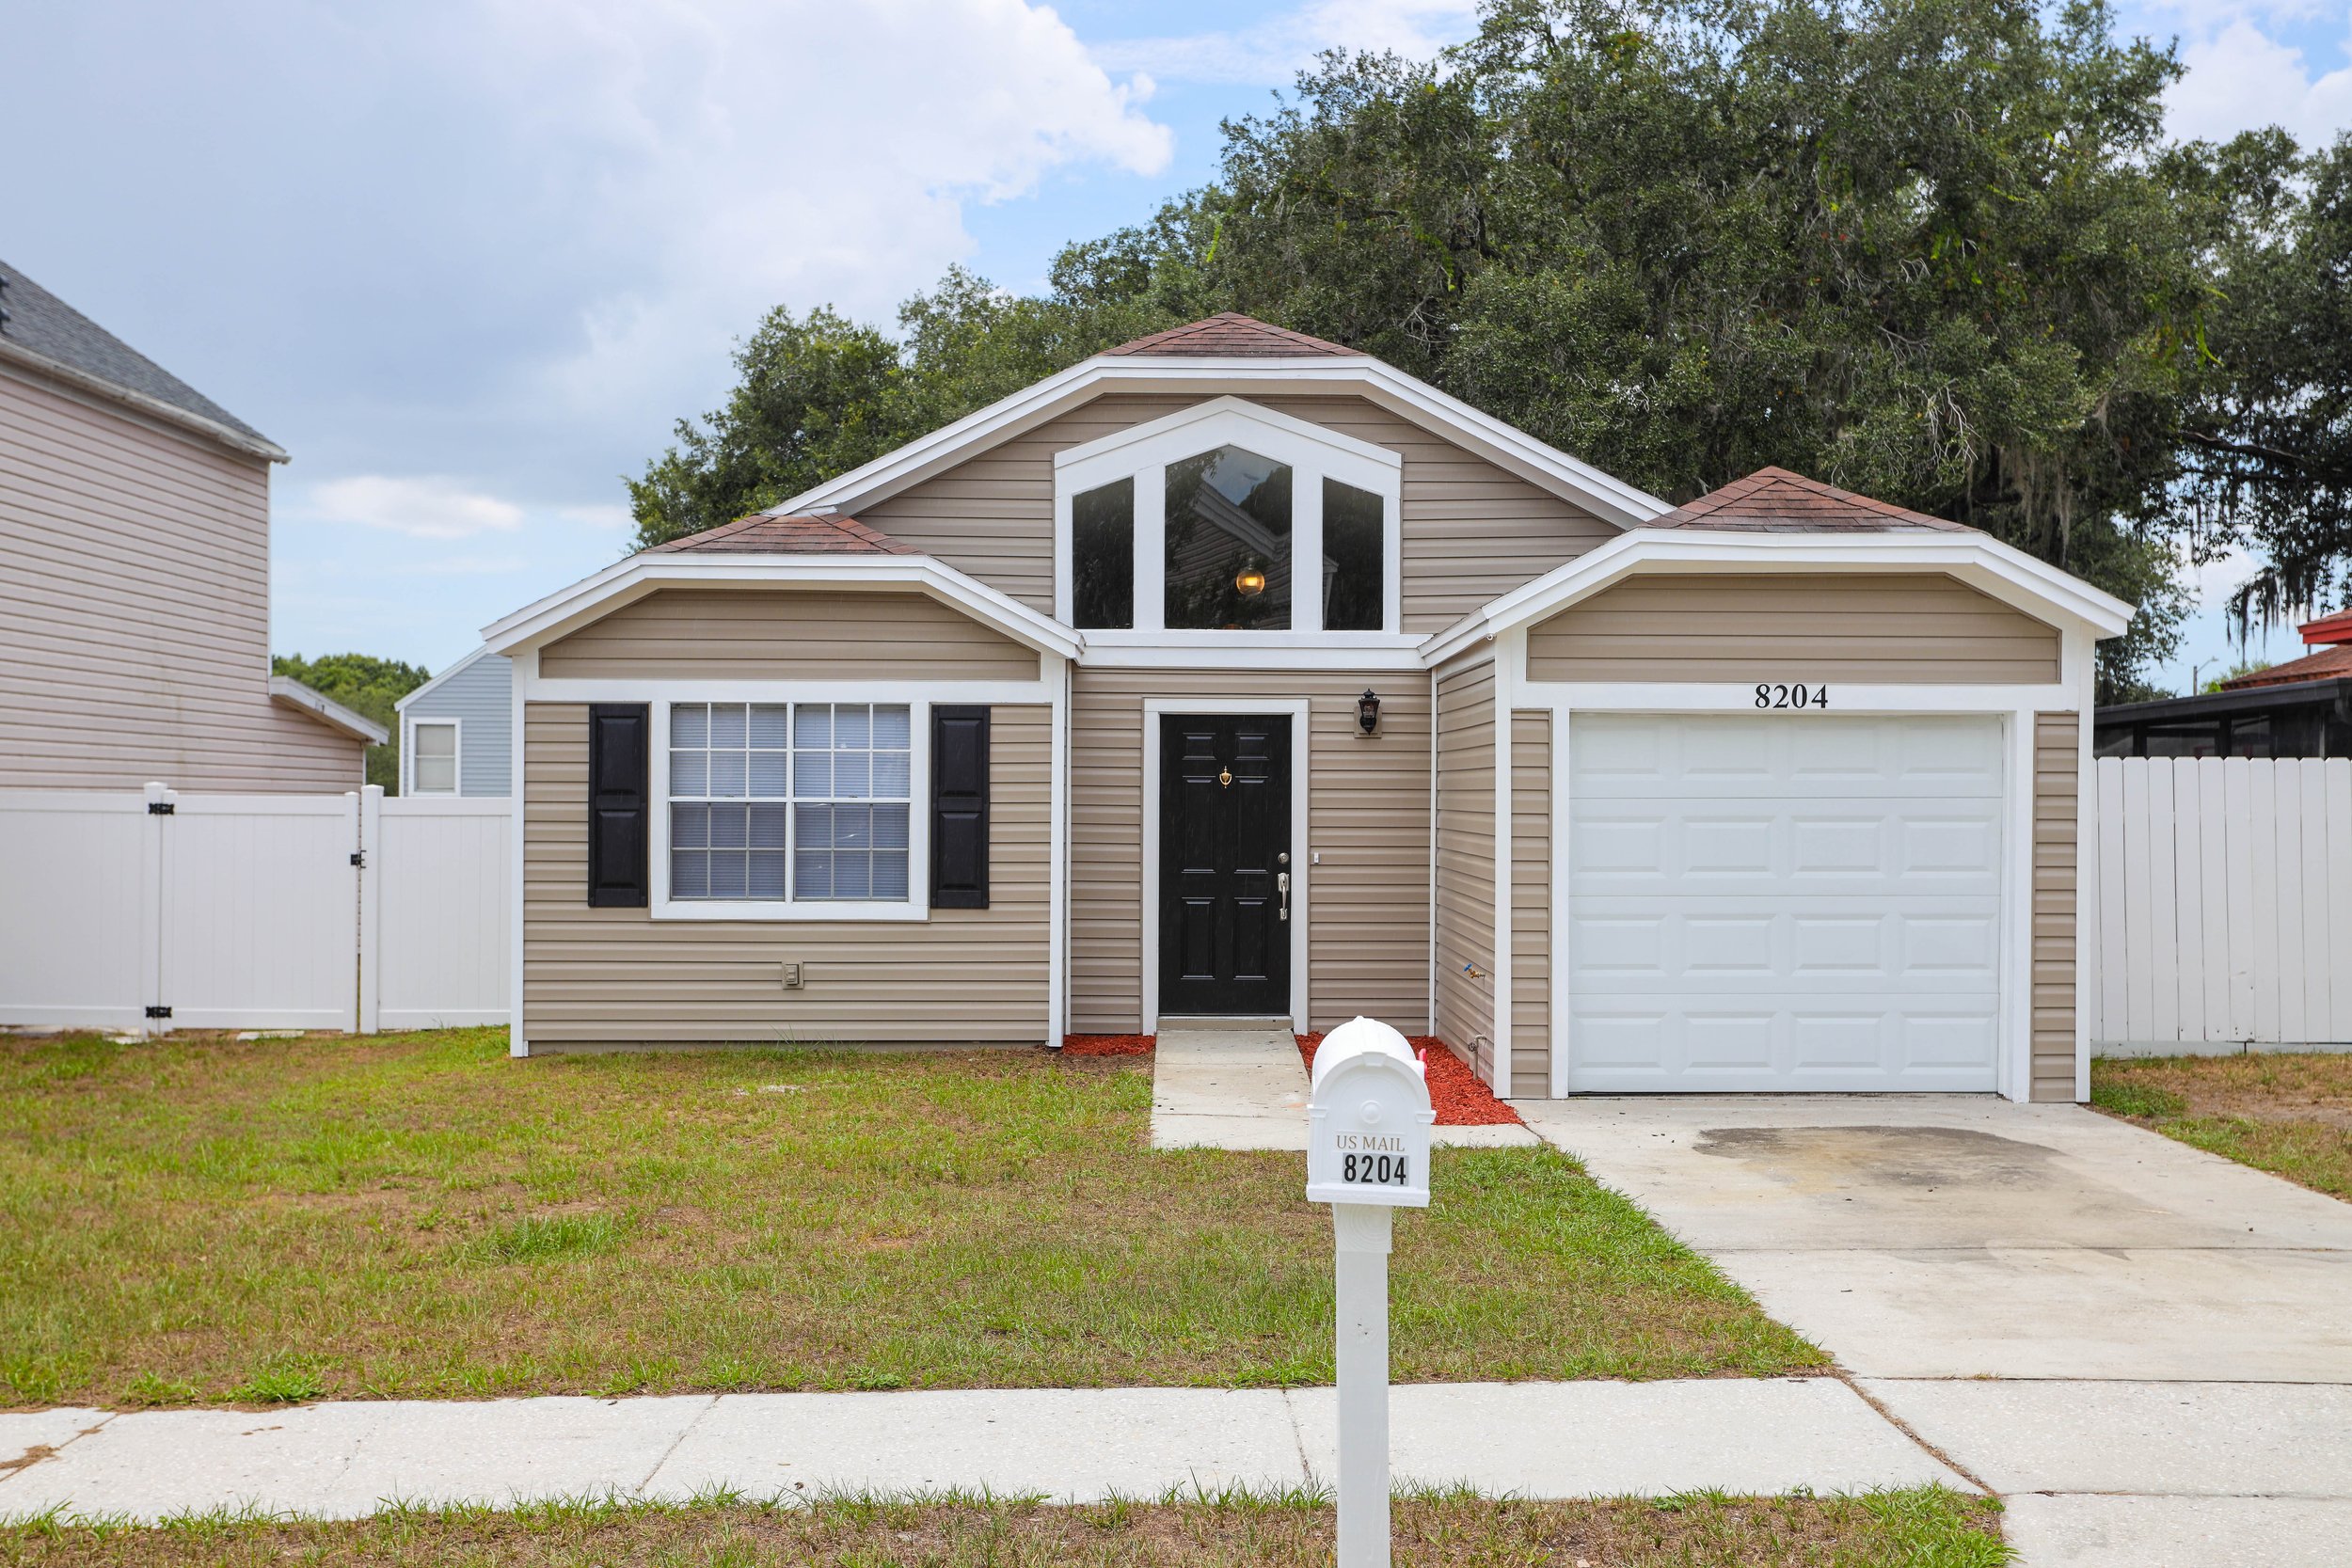
1.)Bathrooms and Kitchen - Remove personal items like toothbrushes, soap bottles and kitchen cleaning items. Decorative soap dishes can stay in the area but labeled soap bottles, toothpaste and toothbrushes can be stored until after.

For more information about Real Estate Listing Photography or other photography or video services reach out to Eric info@ntp2.com and make sure to follow on Social Media @NTP2Photography.